Written by Allen Wyatt (last updated January 11, 2022)
This tip applies to Word 97, 2000, 2002, and 2003
One of the ways you can control the flow of text within your document is to insert different types of breaks in your text. Word supports three general types of breaks: column, page, and section breaks. The breaks work great, but you may run into a problem when you use breaks with shaded paragraphs. To see the problem, try the following:
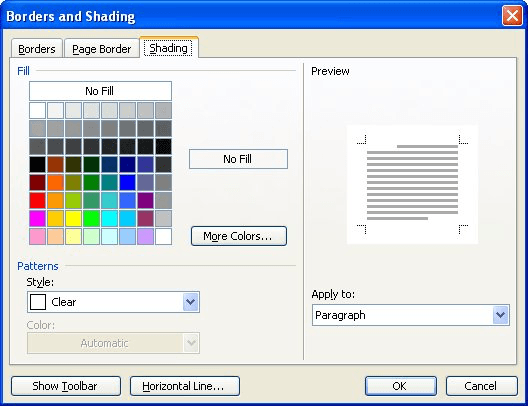
Figure 1. The Shading tab of the Borders and Shading dialog box.
If you examine the document in Print Preview mode (or even print out a copy), you should notice that Word places an extra shaded line at the end of the page before the break, as well as shading the paragraph at the top of the new page.
The reason that Word does this is simple: you instructed it to. When you inserted the page break (step 1), it became the first character of the paragraph you selected. When you shaded the paragraph (steps 2 through 6), the entire thing was shaded—including the page break. When Word subsequently puts your pages together, the shaded page break remains on the previous page and the shaded text following the page break starts at the top of the next page.
The interesting thing is that Word only behaves in this manner if you are using a page break or a column break. (A column break is equivalent to a page break if you are using a single-column layout in your document.) If you use a section break, the break looks shaded on the screen, but does not result in an extra shaded line in Print Preview or on a printout.
How do you get around this behavior with page breaks and column breaks? There are two ways. The first (and simplest) is to not place any breaks in paragraphs that will be shaded. If you must start a shaded paragraph at the top of a new page you can either use a section break or you can follow these steps:
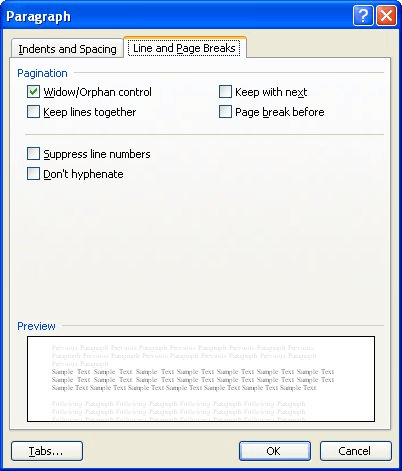
Figure 2. The Line and Page Breaks tab of the Paragraph dialog box.
Now the shading stays on the same page as the paragraph itself. This happens because there is no longer a shaded page break character, remaining on the previous page, at the beginning of the paragraph.
If you must use a manual page break or column break, then the other way to get rid of the shading on the previous page is to only shade the characters of the paragraph, not the entire paragraph itself. For instance, select everything after the break up to, but not including, the paragraph marker at the end of the paragraph. When you shade these characters, nothing that is shaded shows up on the previous page. (If you select the paragraph marker or the break character, Word automatically applies the shading to the entire paragraph, thereby defeating your intent.)
If you try these workarounds and Word still puts a printable shaded line where you feel it shouldn't, then it is possible that you have a problem with your printer driver. To discover if this is the case, try printing the document on a different computer attached to a different type of printer. If it prints fine, then you should visit your printer manufacturer's Web site to download the latest and greatest printer driver they have.
WordTips is your source for cost-effective Microsoft Word training. (Microsoft Word is the most popular word processing software in the world.) This tip (1586) applies to Microsoft Word 97, 2000, 2002, and 2003.

Comprehensive VBA Guide Visual Basic for Applications (VBA) is the language used for writing macros in all Office programs. This complete guide shows both professionals and novices how to master VBA in order to customize the entire Office suite for their needs. Check out Mastering VBA for Office 2010 today!
Some people use quote marks around text to make it stand out. At some point you may want to treat the quoted text ...
Discover MoreWhen adjusting the position of things on the ruler (like tab stops), you can use the Alt key to get very precise in your ...
Discover MorePoints are the common unit of measure for typefaces in the printing industry. They are also used quite often in Word. ...
Discover MoreFREE SERVICE: Get tips like this every week in WordTips, a free productivity newsletter. Enter your address and click "Subscribe."
There are currently no comments for this tip. (Be the first to leave your comment—just use the simple form above!)
Got a version of Word that uses the menu interface (Word 97, Word 2000, Word 2002, or Word 2003)? This site is for you! If you use a later version of Word, visit our WordTips site focusing on the ribbon interface.
Visit the WordTips channel on YouTube

FREE SERVICE: Get tips like this every week in WordTips, a free productivity newsletter. Enter your address and click "Subscribe."
Copyright © 2024 Sharon Parq Associates, Inc.
Comments